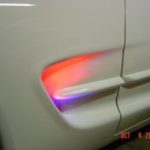
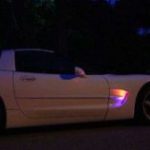
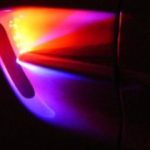
How to install C5 Corvette LEDs in your shark gills
Description
Want to know how to install C5 Corvette LED bulbs in your shark gills/coves?
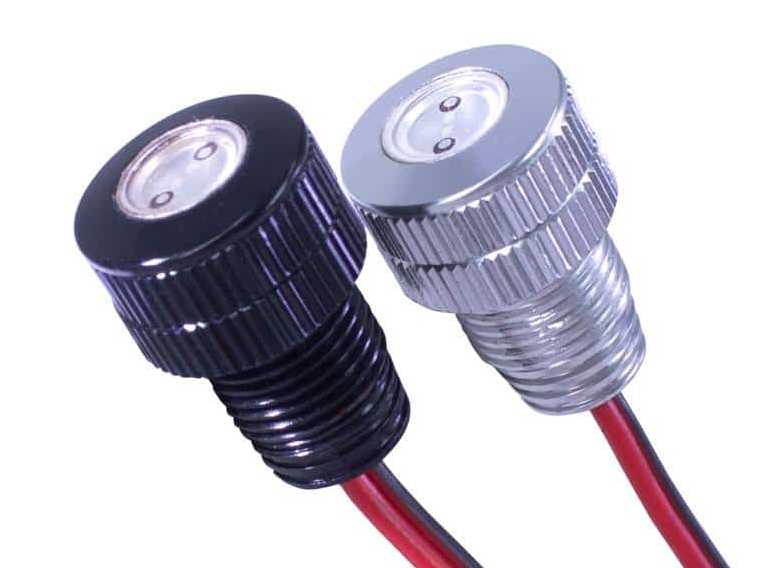
This is a great how-to guide on how to do just that as done by Oznium customer, Diy-Guy. For this project, he used Oznium’s Pre-Wired LED Lights as well as Oznium’s High Intensity Flush Mount LED Bolt.
The whole project costs just under $10 to do yourself, and it ought to take only a few hours of your time!
Details
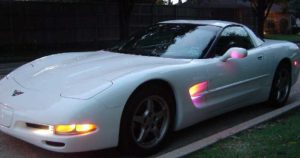
- Diy-guy wanted to install striking C5 Corvette accent LED lights that would complete the look of his ride at night.
- The customer added some in the gills as they work pretty well there.
- In this summary, we’ll discuss how to go about wiring this all up.
- This is a summary of the 7 page guide created by DIY-guy.
- Before starting this project yourself, please note that any amount of LEDs can be used as long as the total voltage is between 11V and 14V when used in parallel with resistors.
Components
- 8 x Red LED’s (assumes 2.6 volt draw each) – four on each side
- 2 x Blue LED’s (assumes 4.0 volts each) 1 on each side
- LED mount (Can be plastic, lexan, wood, composite, cork or anything that will hold the LEDs and stick with double side foam tape; needs to be approx. ½ inch thick, 1 ¼ inch wide, and about 6 inches long.
- Electric Drill with bits
- Saw
- Soldering Gun / Pen
- Roll of Black Electrical Tape
- Small tube of clear silicone sealer
- 1 x Spool of Red and Black 18 – 24 gage wire – about 15 feet or so.
- 2 x Scotch© wire taps
- 20 x small zip tie wraps
- 2 x small foam double-sided stick pads.
Instructions
1. The first step is to cut to size your mounting material, whatever you choose to mount your LEDs in.
2. Measure out your holes on your mounting bar equal distances apart. You should drill two holes for each LED, one on top of the other. The first 1/8″ in will be the width of the LED, the final 1/8″ needs to be drilled with a smaller bit, this is so that your LED doesn’t fall right through the hole and fits nice and snugly. Your LED should just about protrude out of the front edge of your mount.
3. Once that’s done, place your Corvette LED lights into the holes, only about 1/4″ of the tip of the LED should protrude. If you’re looking to connect your LEDs in series, you’ll have to connect the long leads of your LEDs to each other, and the short leads of your LEDs, ensuring that equal 11 or 12 volts in total, but never less that than or you’ll risk blowing your LEDs. Consider using a resistor to adjust the current accordingly if you feel it’s necessary.
4. Assuming that you won’t be connecting them in series, you can simply just push your LEDs into your mounting bar, Connect your wire LEDs positive to negative. Using your soldering iron, place some solder on the wires, once they’re all connected, take your silicone tube and put some silicone at bottom of each LED’s hole to seal them. Place some silicone at the back of your C5 Corvette LEDs to cover the soldered leads so they don’t come into contact with each other, allow the silicone to dry, this could take up to an hour.
5. Tap into your fog light wire, it may be tricky to get to but this is your easiest option. Raise the headlights so you can get your hand down to the connector of the fog light on the driver’s side, remove the connector and pull the wire under the rail and up to where it’s easier to reach.
6. Run the wires along another wire bundle or rubber hose, using zipties to secure it as you go along, so it’s as concealed as possible. You’ll probably have to run your wires along the break reservoir on the left side and over to the right side behind the battery, securing wherever possible or necessary. Now run your wires back over to the left side at the break reservoir.
7. Stick some black tape or duct tape to the back of your Corvette LED mounting bar covering up all your wire connections. Once you’ve done that you can connect your wires up, and stick your mounting bar to the inside of your car’s gills and your new Corvette LED lights are ready to shine!
Phone: 800-245-8131
ADDRESS:
135 Country Center Dr, Ste. F #242
Pagosa Springs, CO 81147
